

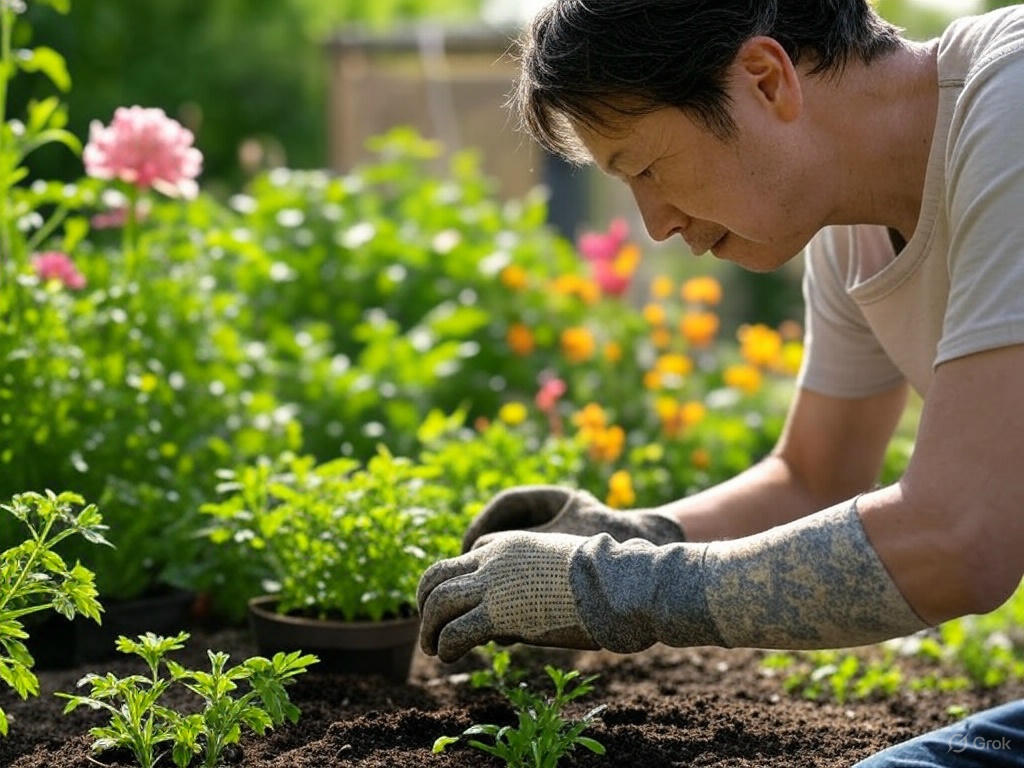
Potting plants is simple and rewarding. It helps plants grow better.
Do you want to learn how to pot plants? You are in the right place. This guide will help you understand the steps. Potting plants can seem tricky at first. But with the right tips, you will do it easily.
You will learn how to choose the right pot and soil. You will also know how to care for your potted plants. Ready to get started? Let’s dive into the world of potting plants together!
Choosing The Right Pot
Choosing the right pot is essential for healthy plants. Understanding how to potting plants involves not only selecting the right soil and plant but also the perfect pot. The right pot ensures your plants thrive, offering them the space and environment they need to grow. Let’s explore the factors to consider when choosing a pot for your plants.
Materials To Consider
When selecting a pot, the material matters. Different materials offer various benefits and drawbacks. Here are some common options:
- Clay or Terracotta: These pots are porous, allowing air and moisture to pass through. This helps prevent root rot but they can dry out quickly.
- Plastic: Lightweight and affordable, plastic pots retain moisture well. This is ideal for plants that need consistent watering.
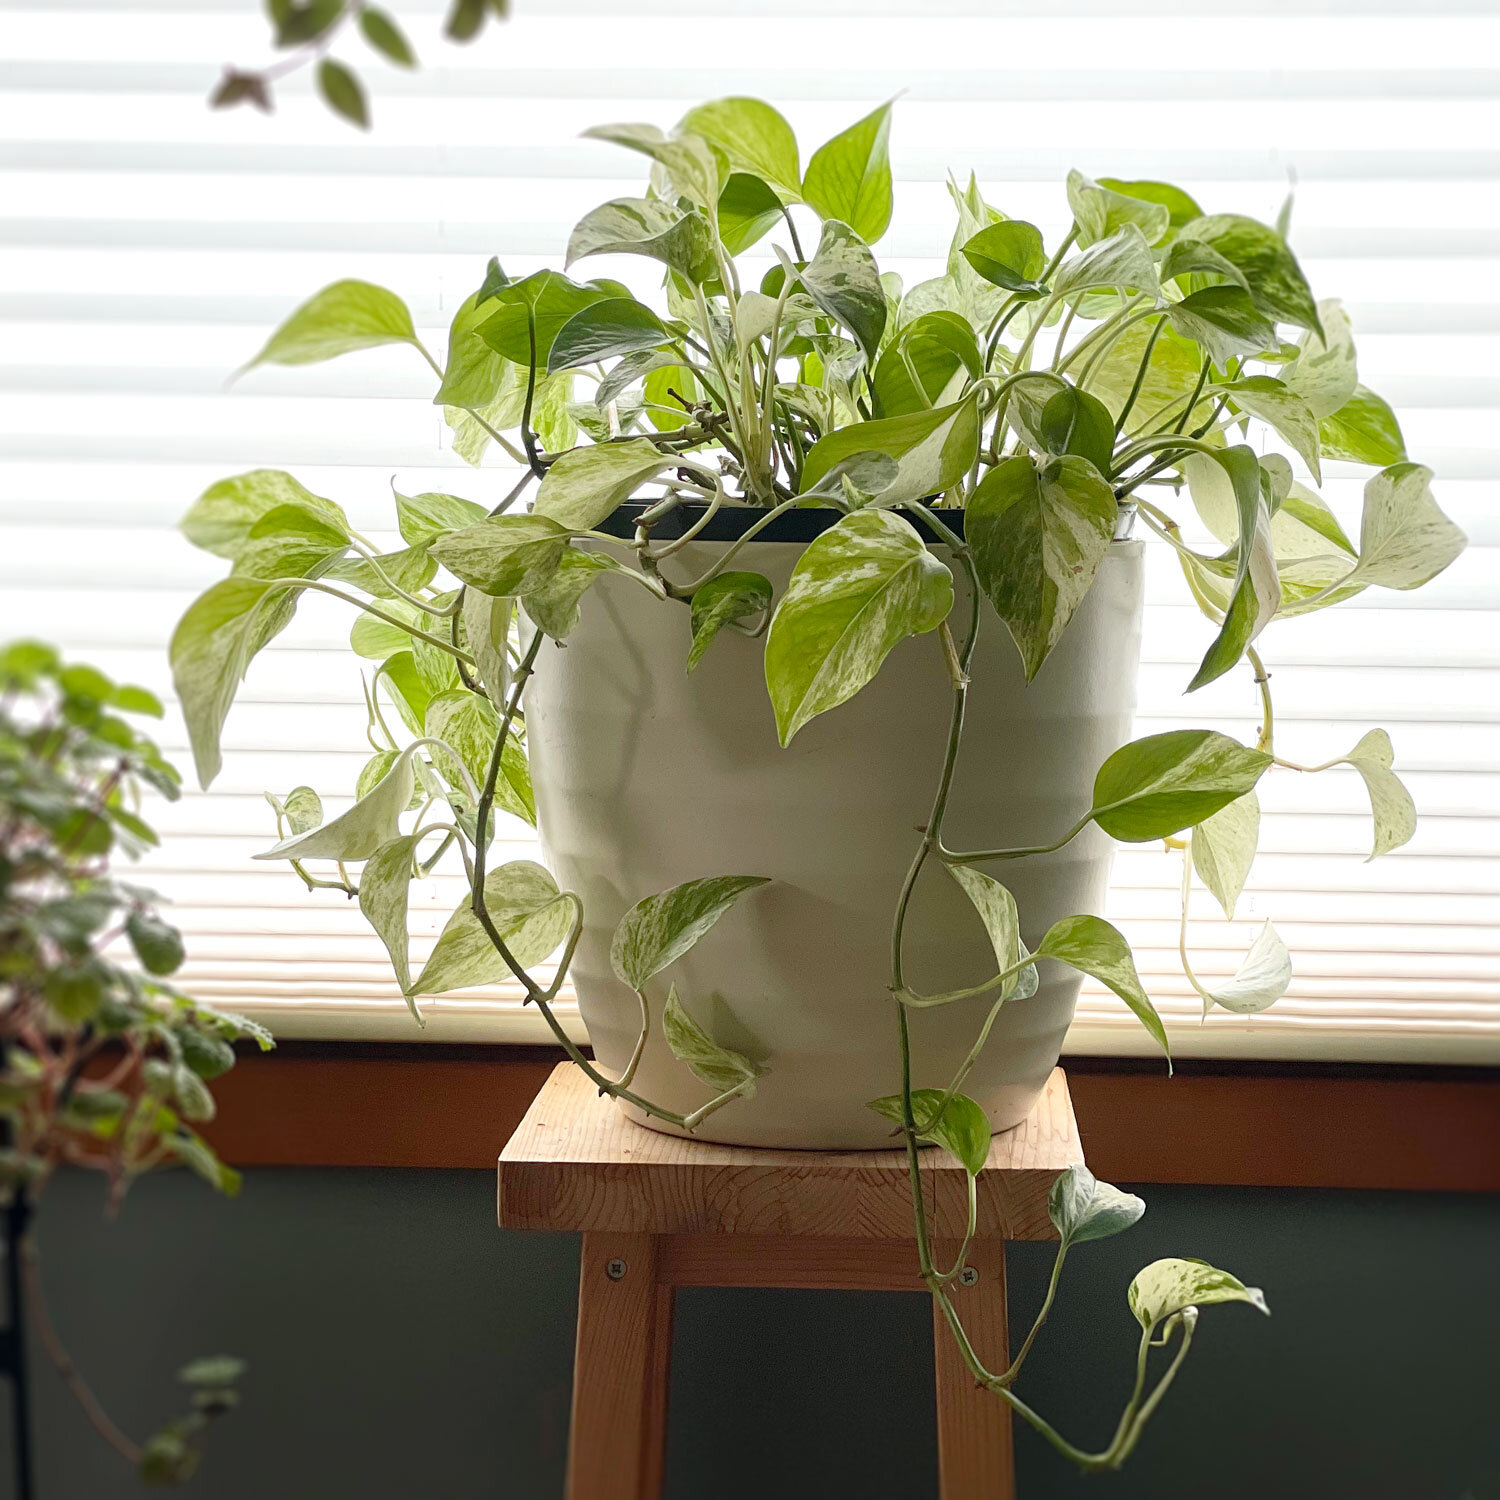
- Ceramic or Glazed: These pots are non-porous and hold moisture better. They are heavy, which helps to anchor larger plants.
- Metal: Durable and stylish, metal pots can heat up quickly. Use them for plants that tolerate warmer conditions.
- Wood: Offering a natural look, wood pots are great for larger plants. They are durable but can rot over time if not treated properly.
Each material has its pros and cons. Choosing the right one depends on your plant’s needs and your aesthetic preferences. For example, clay pots are excellent for succulents due to their breathability. On the other hand, plastic pots are great for indoor plants that require more moisture.
Table of Contents
Size Matters
The size of the pot significantly impacts the growth of your plant. Too small, and the roots will become crowded. Too large, and the soil may retain too much moisture, causing root rot. Here’s how to determine the right size:
- Root Space: Ensure the pot is large enough to accommodate the plant’s root system. There should be room for growth, but not excess space.
- Plant Type: Consider the type of plant you are potting. For example, how to plant annuals in pots usually requires smaller pots compared to perennials or shrubs.
- Growth Rate: Fast-growing plants will need repotting more frequently. Choose a pot that allows for some growth but plan for future repotting.
- Container Gardening: If you are planting flowers in pots for a container garden, determine how many plants per container. Overcrowding can hinder growth.
Using the correct pot size ensures your plants have the right environment to thrive. A pot that is too small can stunt growth, while one that is too big can cause water retention problems. Always match the pot size with the plant’s needs and growth habits.
In summary, understanding how to plant flower containers involves making informed choices about pot materials and sizes. This ensures your plants not only survive but flourish. Happy potting!

Selecting The Soil
Potting plants is a delightful way to bring greenery into your home or garden. One essential step in this process is selecting the right soil. The soil you choose can significantly impact the health and growth of your plants. Whether you’re planting flowers in pots, learning how to plant flower containers, or figuring out how many plants per container, understanding the soil is crucial.
Types Of Potting Mix
When learning how to potting plants, selecting the right potting mix is vital. Different plants have different needs, so it’s essential to choose a soil mix that matches your plants’ requirements. Here are some common types of potting mixes:
- All-Purpose Potting Mix: Suitable for most houseplants and outdoor container plants. It usually contains a blend of peat moss, pine bark, and perlite or vermiculite.
- Cactus and Succulent Mix: Designed for plants that need excellent drainage. It typically includes sand or fine gravel, which helps prevent root rot.
- Orchid Mix: Contains larger pieces of bark and other materials to provide the aeration that orchids need.
- Seed Starting Mix: Very fine and lightweight, making it ideal for germinating seeds. It often includes vermiculite and peat moss.
Choosing the right mix can make planting flowers in pots more successful. Here’s a simple table to help you decide:
| Type of Plant | Recommended Potting Mix |
|---|---|
| Houseplants | All-Purpose Potting Mix |
| Cacti and Succulents | Cactus and Succulent Mix |
| Orchids | Orchid Mix |
| Seeds | Seed Starting Mix |
Adding Nutrients
To ensure your plants thrive, adding nutrients to the soil is essential. Nutrients help plants grow strong roots, vibrant leaves, and beautiful flowers. Here are some ways to add nutrients:
- Compost: Adding compost to your potting mix enriches the soil with organic matter. It improves soil structure and provides essential nutrients.
- Fertilizers: Use slow-release fertilizers to provide a steady supply of nutrients. Choose a fertilizer that matches your plant’s needs, such as a balanced fertilizer for general use or a bloom booster for flowering plants.
- Worm Castings: These are rich in nutrients and beneficial microbes. They improve soil aeration and water retention.
- Bone Meal: This organic fertilizer is high in phosphorus, which is essential for root growth and flowering.
Incorporating these nutrients can make a big difference when learning how to plant annuals in pots. Here’s a tip: mix the nutrients into the soil before planting. This ensures they are evenly distributed and readily available to the plants. Regularly check your plants and adjust the nutrient levels as needed to keep them healthy and thriving.
Preparing The Plant
Potting plants is a rewarding activity that brings nature closer to home. Before you start, it is crucial to prepare the plant properly. This step ensures that your plant thrives in its new environment. By inspecting and trimming the roots, you give your plant the best chance to grow strong and healthy. Let’s dive into the essential steps of preparing the plant for potting.
Inspecting Roots
Before planting flowers in pots, take a close look at the roots. Healthy roots are essential for a plant’s growth. First, gently remove the plant from its nursery pot. Shake off any loose soil to expose the roots.
Check for the following signs of healthy roots:
- Color: Healthy roots are white or light tan. Avoid plants with dark or mushy roots as they may be rotting.
- Structure: Roots should be firm and crisp. They should not break easily when handled.
If the roots are tightly wound or circling the pot, this is called being “root-bound.” Root-bound plants can struggle to get nutrients and water. To address this, you can loosen the roots gently with your fingers.
Here’s a simple table to summarize the inspection process:
| Healthy Roots | Unhealthy Roots |
|---|---|
| White or light tan | Dark or mushy |
| Firm and crisp | Soft and break easily |
Trimming Techniques
After inspecting, you may need to trim the roots. Trimming helps the plant absorb nutrients better and encourages new growth. Use clean, sharp scissors or pruning shears for this task.
Follow these steps for effective trimming:
- Identify: Look for any dead or damaged roots. These will be dark, mushy, or dry.
- Trim: Cut away the unhealthy roots. Make clean cuts to avoid damaging the healthy parts.
- Shape: If the roots are very long, trim them to fit the new pot. This helps the plant settle in better.
If you are potting annuals, the same techniques apply. Healthy roots are vital for all plants, whether you are learning how to plant flower containers or figuring out how many plants per container. Proper trimming ensures that your plants have the best start.
Trimming roots may seem daunting, but it is a simple process that greatly benefits your plants. Remember, healthy roots lead to a thriving plant. By following these steps, you are well on your way to mastering how to potting plants successfully.
Potting Process
Potting plants can be a rewarding and calming activity. It allows you to bring a bit of nature indoors or enhance your garden. Understanding the potting process is essential to ensure your plants grow healthy and strong. This section will guide you through the basic steps of how to potting plants, focusing on layering soil and positioning the plant.
Layering Soil
Layering soil is a critical step in the potting process. Proper soil layering ensures good drainage and provides essential nutrients to the plant roots.
Start by selecting the right container. Ensure it has drainage holes to prevent waterlogging. Here’s a step-by-step guide for layering soil:
- Drainage Layer: Place a layer of small stones or gravel at the bottom of the pot. This helps water drain away from the roots. Aim for a layer about 1-2 inches deep.
- Charcoal Layer: Add a thin layer of activated charcoal over the gravel. Charcoal helps keep the soil fresh by absorbing toxins and odors.
- Soil Mix: Use a high-quality potting mix suitable for your plant type. Fill the container up to two-thirds full. This mix should be well-draining and rich in organic matter.
For specific plants, you might need to adjust the soil composition. Here’s a simple table to guide you:
| Plant Type | Soil Requirements |
|---|---|
| Cacti and Succulents | Sandy, well-draining soil |
| Ferns | Rich, moist soil |
| Annuals | Standard potting mix |
Proper soil layering is key to planting flowers in pots and ensuring their longevity. By following these steps, you create a healthy environment for your plants.
Positioning The Plant
Positioning the plant correctly in the pot is crucial for its growth. It helps the plant establish a strong root system and ensures it receives adequate light and nutrients.
Follow these steps to position your plant:
- Remove the Plant: Carefully remove the plant from its original container. Be gentle to avoid damaging the roots.
- Loosen the Roots: If the roots are tightly bound, gently loosen them with your fingers. This encourages new growth.
- Place the Plant: Position the plant in the center of the new pot. Ensure the top of the root ball is about an inch below the pot’s rim.
- Fill with Soil: Add more potting mix around the plant, pressing it down lightly. Ensure the plant is secure but not too tight.
Here are some additional tips:
- For larger plants, consider using a stake to provide support.
- If planting multiple plants, know how many plants per container. Avoid overcrowding to give each plant room to grow.
- When learning how to plant annuals in pots, remember they need more frequent watering and fertilizing.
Positioning the plant correctly helps it thrive. By following these simple steps, you can enjoy beautiful, healthy plants. Whether you’re learning how to plant flower containers or growing your favorite annuals, proper positioning is key.

Watering After Potting
Potting plants is an enjoyable and rewarding activity. Whether you’re planting flowers in pots or learning how to plant flower containers, proper watering is crucial. Watering after potting ensures your plants thrive in their new environment. Learn the right techniques to keep your potted plants healthy and vibrant.
Initial Watering
After you finish planting your flowers in pots, the first watering is essential. This helps the soil settle around the roots and provides the initial hydration needed for growth. Follow these steps for the best results:
- Water the plant thoroughly, until water drains from the bottom of the container.
- Use a watering can with a gentle spout to avoid disturbing the soil.
- Ensure the water reaches the root zone by watering slowly and evenly.
Consider the size of your container and the type of plant. Small containers dry out faster and may need more frequent watering. Larger pots retain moisture longer, reducing the need for frequent watering. Understanding how many plants per container is also important, as overcrowding can lead to uneven water distribution.
For how to plant annuals in pots, make sure the soil is moist but not waterlogged. Overwatering can harm the roots and lead to other issues. The table below provides a quick guide:
| Container Size | Watering Frequency | Notes |
|---|---|---|
| Small (6-8 inches) | Every 1-2 days | Check soil moisture daily |
| Medium (10-12 inches) | Every 2-3 days | Monitor soil and plant health |
| Large (14+ inches) | Every 3-4 days | Ensure proper drainage |
Signs Of Overwatering
Overwatering is a common mistake, especially for beginners learning how to potting plants. Recognizing the signs early can save your plants. Look out for these symptoms:
- Yellowing leaves: This indicates too much water and poor oxygenation.
- Wilting despite wet soil: Roots may be rotting due to excess moisture.
- Fungus or mold on the soil surface: This is a clear sign of overwatering.
To avoid overwatering, check the soil moisture before watering. Insert your finger about an inch into the soil. If it feels dry, it’s time to water. If it’s moist, wait another day. Using containers with drainage holes is crucial. It helps excess water escape, preventing root rot.
Here’s a quick tip for how to plant flower containers successfully: Mix the soil with perlite or sand. This improves drainage and reduces the risk of overwatering. Also, ensure proper spacing. Understanding how many plants per container helps maintain healthy root development and water distribution.
In summary, proper watering after potting is key. Pay attention to initial watering, and avoid overwatering to keep your plants thriving.

Ongoing Care
Learning how to potting plants is a rewarding skill. It’s exciting to see your plants thrive in their new homes. But the work doesn’t stop after planting. Ongoing care is crucial to keep your plants healthy and vibrant. Let’s dive into the essential aspects of ongoing care.
Fertilization Schedule
Fertilizing your potted plants is key to their growth and health. Plants in containers rely on you for nutrients since they can’t reach out to soil beyond the pot.
Here’s a simple fertilization schedule:
- Weekly: Use a diluted liquid fertilizer. Mix it according to the instructions on the package. This provides a steady supply of nutrients.
- Monthly: Add slow-release granules. They break down over time, feeding your plants gradually.
- Seasonally: During the growing season, increase feeding. Plants need more nutrients as they grow rapidly.
Remember to adjust the schedule based on the specific needs of your plants. Some plants may require more frequent feeding. Others might need less. Always observe your plants and adjust as necessary. Over-fertilizing can harm them.
To make it easier, here’s a table summarizing the fertilization schedule:
| Frequency | Type of Fertilizer |
|---|---|
| Weekly | Liquid Fertilizer |
| Monthly | Slow-Release Granules |
| Seasonally | Increased Feeding |
Repotting Tips
Knowing how to potting plants also involves repotting them as they grow. Repotting ensures they have enough space to spread their roots and access nutrients.
Here are some tips for successful repotting:
- When to Repot: Look for signs like roots growing out of the drainage holes, the plant becoming top-heavy, or soil drying out too quickly.
- Choosing a Pot: Select a pot that is 1-2 inches larger in diameter than the current one. Ensure it has drainage holes.
- Preparing the Pot: Add a layer of fresh potting mix to the bottom. This gives the roots something to grow into.
- Removing the Plant: Gently tap the pot to loosen the plant. Carefully lift it out, supporting the root ball.
- Trimming Roots: Trim any roots that are excessively long or tangled. This encourages new growth.
- Planting: Place the plant in the new pot. Fill around it with fresh potting mix. Press the soil gently to remove air pockets.
- Watering: Water the plant thoroughly after repotting. This helps settle the soil and reduces transplant shock.
Regular repotting keeps your plants healthy and thriving. It prevents them from becoming root-bound and ensures they have enough space to grow.
For planting flowers in pots or how to plant flower containers, follow similar steps. Consider how many plants per container to avoid overcrowding. Learning how to plant annuals in pots will also benefit from these tips.
Frequently Asked Questions
What Is The Most Common Mistake Made With Container Plants?
Overwatering is the most common mistake with container plants. It leads to root rot and poor plant health. Ensure proper drainage and only water when the soil is dry.
How Do You Repot A Plant With Potting Soil?
Choose a larger pot with drainage holes. Gently remove the plant from its current pot. Place fresh potting soil in the new pot. Position the plant in the center. Fill around the roots with more potting soil, then water thoroughly.
Should You Break Up Roots When Repotting?
Yes, break up roots gently when repotting. This encourages new growth and prevents root-bound issues. Avoid damaging the roots excessively.
Do I Need To Put Rocks In The Bottom Of A Planter?
No, you don’t need to put rocks in the bottom of a planter. Rocks can hinder drainage. Use well-draining soil instead.
How Do I Choose The Right Pot For My Plant?
Select a pot with drainage holes. Ensure it’s slightly bigger than the plant’s root ball.
What Soil Is Best For Potted Plants?
Use a well-draining potting mix. Avoid garden soil as it may compact and suffocate roots.
Conclusion
Potting plants can be fun and rewarding. Follow the steps, and your plants will thrive. Use good soil, the right pot, and proper watering techniques. Light is important too. Keep learning and experimenting. Your green thumb will grow with practice.
Enjoy your gardening journey. Happy planting!